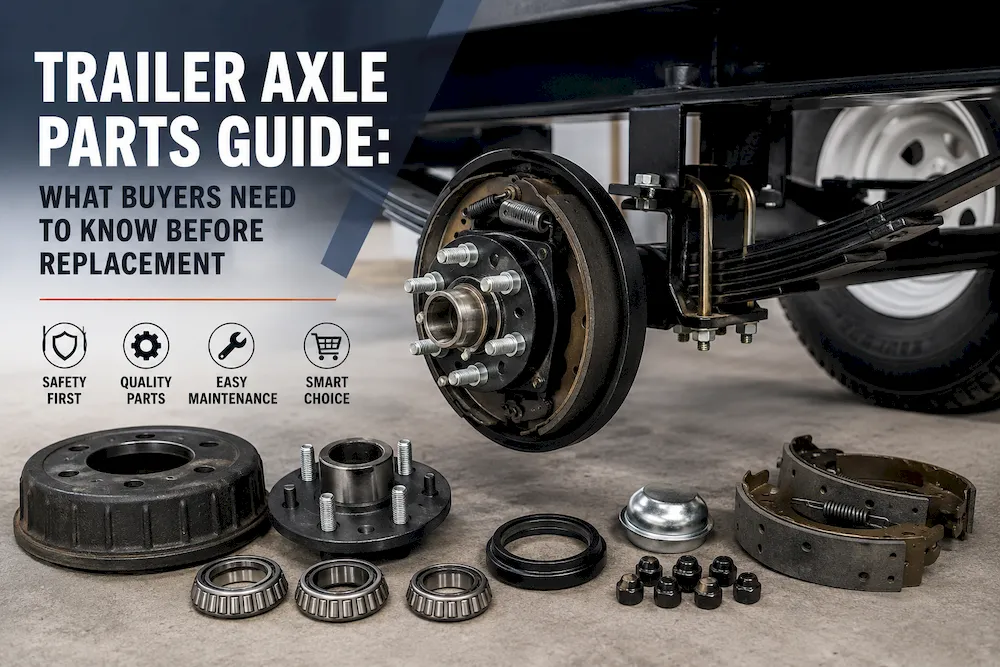
Trailer brake replacement should begin with identification, not appearance. Similar drums, shoes and backing-plate assemblies can differ in capacity, geometry, actuation and mounting. A mismatch can cause weak braking, drag, noise, overheating or uneven wear.
Components or complete assembly?
Individual parts may be suitable when the backing plate and hardware remain serviceable and the exact specification is known. A complete assembly is often more reliable when several parts are worn, corrosion is extensive or identification is uncertain.
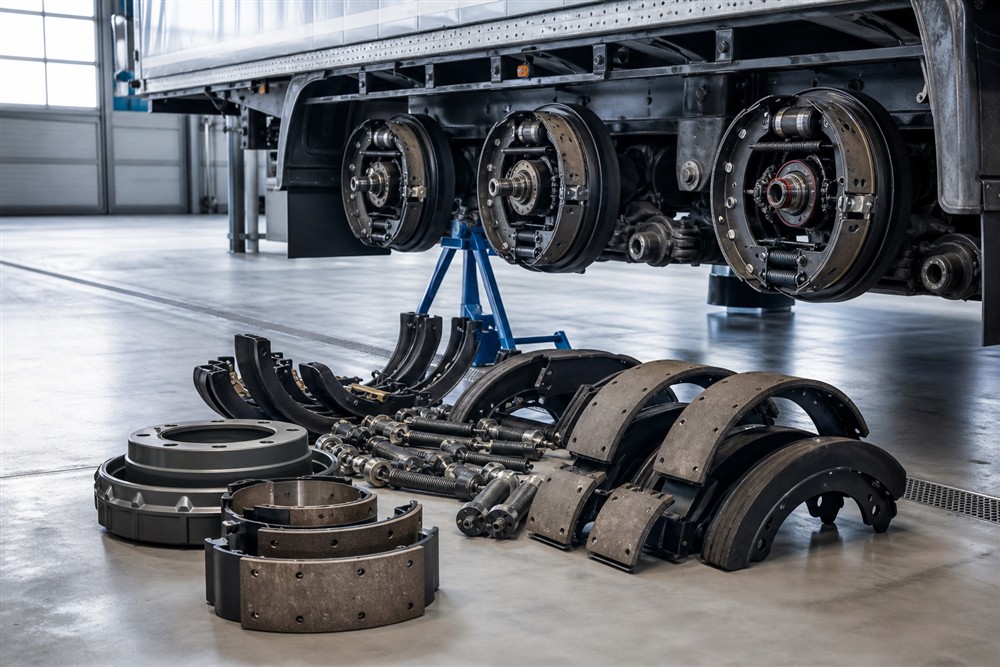
Service items include brake shoes, springs, adjusters, electric magnets, hydraulic cylinders and complete left- or right-hand assemblies.
Record specifications
- drum inside diameter and braking-surface width;
- mounting-flange bolt count and spacing;
- electric or hydraulic operation;
- manual or self-adjusting design;
- left- or right-hand position;
- axle rating and application;
- hub, bearing and wheel pattern when replacing the drum.
Inspect the drum
Check for heat cracks, scoring, corrosion and an out-of-round surface. Measure inside diameter against the service limit. New shoes in an oversized or damaged drum may have poor contact.
Evaluate shoes and lining
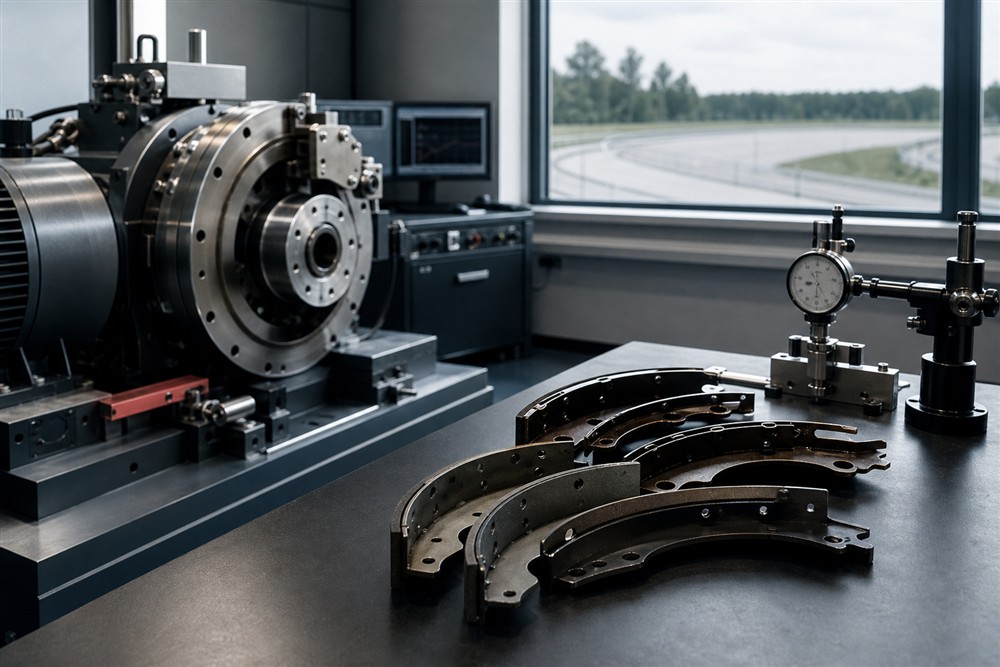
Replace shoes when lining is below its limit, contaminated, cracked, loose or unevenly worn. For bonded linings, surface preparation and lining-to-shoe shear strength are safety-critical. Material should have controlled friction behavior across temperature and batches.
Check electric components
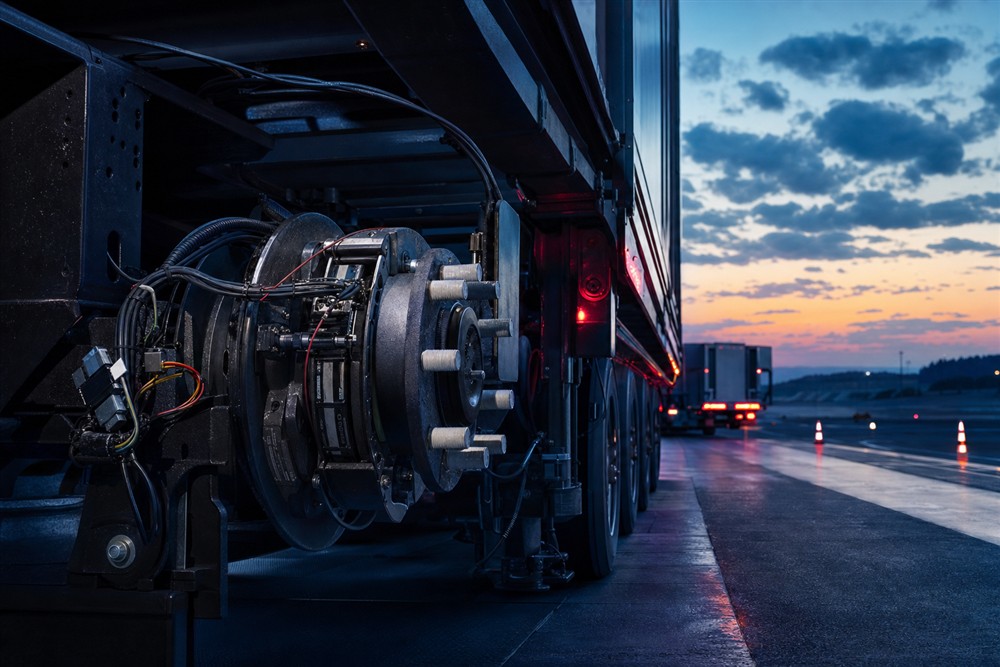
Inspect the magnet face and verify electrical behavior. Check the lever, wiring, connectors and ground. A new magnet cannot compensate for damaged wiring, poor adjustment or an incompatible controller.
Check hydraulic components
Inspect cylinders for leaks, seized pistons and damaged boots. Confirm bore, fittings and fluid compatibility. Fluid-contaminated friction lining should normally be replaced.
Orientation matters
Many drum brakes are directional. Shoe arrangement, magnet lever or cylinder position must face correctly. Installing two identical sides can create unequal braking.
Installation and validation
- use specified fasteners and torque;
- keep friction surfaces free of oil and grease;
- adjust shoes to specification;
- verify wiring and ground or bleed hydraulics;
- test at low speed;
- recheck temperature and adjustment after bedding.
Buyer checklist
Send part numbers, measurements, axle rating, application, photos and annual quantity. OEM/ODM projects should specify standards and validation needs. Chiheng Brake can evaluate samples and drawings before production.